If you are wondering how to properly heat your pans, you are already on a wise path grasshopper. Good for you! Many people don’t even put a bit of thought into the proper way to go about heating frying pans and may end up ruining their cookware – and their meals. No worries, you are about to learn all you need to know about properly heating your pans and why it’s done.
Generally, you want a hot pan with hot oil. Adding early will allow the oil to indicate when it is ready by shimmering or lightly smoking. Stainless and cast iron should be thoroughly heated to best prepare the surface. Non-stick pans only need a light coat of oil or fat, and can heat quickly.
When you treat your pans properly, they will perform better and last longer. Cooking requires knowledge of how to heat your cookware, and when to add your ingredients. So if you love to cook, like we do, join us as we cover all the things you need to know (and a few you don’t).
When it comes to the popular question of to preheat, or not to preheat, there can be much controversy on the subject. You can never please everybody, but if you educate yourself on the topic then you’ll be better prepared to form your own conclusions.
There are multiple considerations here due to several different factors, including:
Let’s dive in and discuss!
Who doesn’t love a good non-stick pan? Cooking is a breeze when you’ve got a slick and sleek new surface to cook on. This is an especially popular pan for home cooks worldwide.
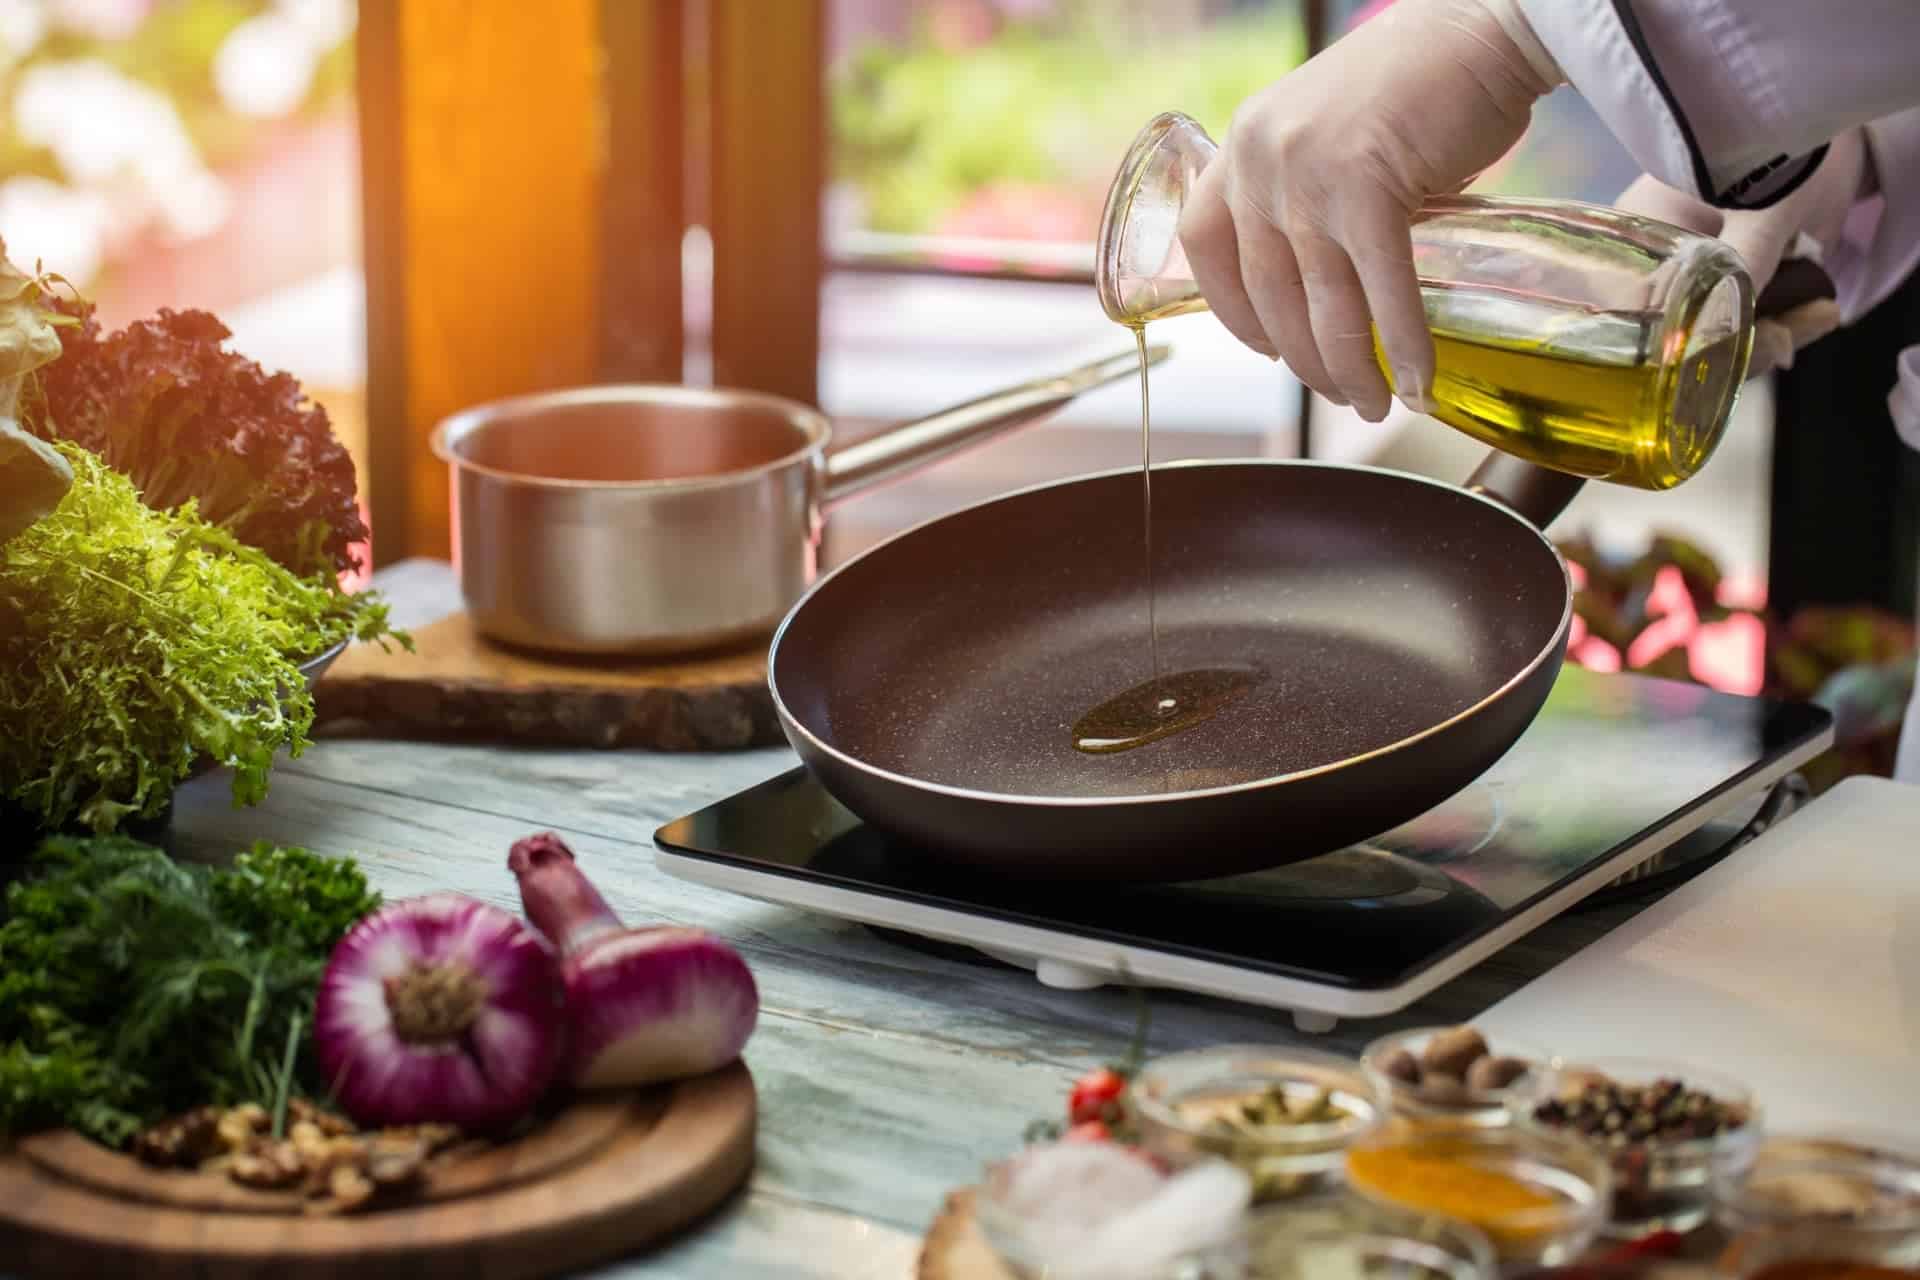
Non-stick pans are designed for moderate heat. They are not made for high heat use. Which is why preheating them for more than 30 seconds, or at high settings is not recommended. It is also thought to be hazardous when heating empty nonstick pans. The pans get too hot too fast, which can damage the non-stick surface, potentially release toxins and can even cause your pan to warp.
These types of pans are coated with a chemical compound popularly known as Teflon. Creating a surface which is resistant to sticking, it can provide you with the option of using little to no fats — a desirable benefit for those wishing to limit their exposure to fats or people with certain dietary restrictions.
Our recommended heating practice:
Old reliable. These pans are the preferred go-to for both chefs and professionals. Stainless steel cookware is efficient, long lasting – if cared for properly – and a beautiful addition to any kitchen. Pans made from stainless steel are durable and are known for their even heat transfer, making cooking in them a dream.
Stainless is wonderful for cooking all sorts of dishes. Apart from eggs, which are better suited for non-stick cookware, stainless steel can handle almost anything you throw at it. As an added benefit, many of these pans are oven safe.
Caution: Scrubbing with an abrasive metal scouring pad can damage the surface of the pan, causing major issues with stuck food down the road. Instead, clean with a soft sponge and polish with vinegar till shiny.
Our recommended heating practice:
Additional considerations:
Pro Tip: seasoning your stainless steel pan can help prevent rusting and SFS (stuck food syndrome). Wash and dry the pan, then coat the inside with vegetable oil and heat up in the oven. But only if the entire thing is stainless. You will not be able to do this with rubber handled pans!
Classic and homey, the cast iron pan has also become quite trendy. The most heavy-duty of all the cookware options, cast iron is known for holding heat very well. Meaning it is more concentrated and stays hotter for longer. Ideal for cooking, frying, baking and even using on the campfire. Cast iron will last for many years if treated and heated properly.
Getting better with age isn’t only applicable to wine. Every time you use them, cast iron pans build up a base layer that help their non-stick capability and hydrophobic properties.
Our recommended heating practice:
Additional considerations:
But isn’t cleaning and seasoning these pans a pain? Yes and no. Many professional chefs that consistently use cast iron will tell you to never, ever wash it the same way you do other pans.
Cleaning cast iron minimally is best. Oil and salt are simple cleaning agents that you can use. Wipe food particles out with kosher salt and a paper towel. One thing that is not recommended is using soap in a cast iron pan. However, a small amount from time to time when really needed won’t hurt. Just don’t make it a common practice and definitely do not allow water to soak in the pan for any length of time. Never dump water into a hot pan either which can cause cracks to form. As a general rule of thumb, water and cast iron do not mix.
Helpful habit: After dinner, apply a new coat of oil – any type you have on hand – and wipe the entire pan from top to bottom before storing
Cooking with fats requires a basic knowledge of them to reliably produce the best results. Here’s a quick overview:
Olive Oil – An extremely popular choice, but one we don’t readily recommend. Due to its low smoke point, you must be careful not to cook at too high a temperature with it. Not only is it not ideal for high temps, but the heat will also start to kill off any health benefits it may have brought otherwise.
*Best used for salad dressings and toppings*
Canola/Corn/Vegetable – These oils have higher smoke points, lending themselves well to cooking and frying. However, they are highly processed and not as healthy as other options.
*Peanut oil is a good alternative, but can pose problems for those that may have allergies*
Butter – Since butter can burn easily, cranking it up to high temperatures is not recommended. So, start on low and add to a preheated pan very carefully. If heated too quickly it will break down and ruin your food.
Pan Spray – Using aerosol pan spray is a convenient and low fat way to grease your pan. But they are not ideal for high heat use, will burn easily, and aren’t always environmentally friendly.
Ghee and Avocado Oil – Hands down our favorite options in the UpGood Testing Kitchen due to their great flavor, versatility, high smoke points and health benefits. Whew! Stay tuned for more information on these fantastic fats down the road.
– Have Fun In The Kitchen
Lorem ipsum dolor sit amet, consectetur adipiscing elit, sed do eiusmod tempor
incididunt ut labore et dolore magna aliqua. Quis ipsum suspendisse ultrices gravida.